Showing posts with label Fall. Show all posts

Tuesday, October 3, 2023

Peek-A-Boo - Hello Bluebird

Hello, hello! Last Friday was the Hello Bluebird mini fall release and I was excited to be joining the talented design team in creating cards using the adorable new products!
All of my cards were shared over on my Instagram account were I do share more of my cards but today my card features the cute Peek-a-Boo stamp set and dies.
To create my card, I used stamped some of the images from the Peek-a-Boo  set, die cut them out and colored them using copic markers. Next I used the Nesting Deckle dies and die cut a piece of white card stock which I blended with tumbled glass and brushed corduroy distress oxide ink and then added some watered down splatters of vintage photo ink along the bottom.

Once that was done, I stamped my sentiment along the top and added my images popping up the fox and the two small pumpkins using foam tape and adhered my panel to a piece of Doodlebug orange gingham paper.
Thanks so much for stopping by!
Don't forget, you can follow me on InstagramTwitter and Pinterest to see what I'm up to.

Friday, September 22, 2023

Fall Mug Additions - Pretty Pink Posh

Hello, hello! Today I’m sharing a card that features the new Fall Mug Additions dies from the latest Pretty Pink Posh release.

These new Fall Mug Additions dies coordinate so well with the previous mug dies and make it so fun to create and mix the different die sets together to make a card. For my card today I used the original Winter Mug dies (the mug & coffee) along with the Valentine Mug Additions dies (the spoon & whip) and the latest Fall Mug dies (the scarf, acorn & leaf).

To create my card I die cut the mug from pumpkin pie card stock and blended around the edges with some cajun craze ink and added the coffee and the dollop of whip which I blended on some antique linen distress ink around the edges and added a fall leaf with some copic marker blending. After that I die cut the scarf from teal card stock and blended on some pine needles distress ink. I die cut the spoon from light gray card stock and blended on some hickory smoke distress ink. The little acorn was die cut from kraft and chocolate chip card stock and I used some brushed corduroy distress ink. After that I used the Autumn Pumpkins stamp set for my sentiment and the Stitched Torn Rectangles dies and adhered my pieces, popping up the mug and acorn with foam tape. For my background, I used the new Deco Leaves stencil on some real rust card stock with some cajun craze ink.
Thanks so much for stopping by!
Don't forget, you can follow me on InstagramTwitter and Pinterest to see what I'm up to.

Tuesday, September 19, 2023

Fall Jar - Pretty Pink Posh

Hi there! I hope you’re having a good day! I’m popping in with a card that features the Fall Jar stamp set from this month’s Pretty Pink Posh release.
To create my card, I stamped the images from the Fall Jar stamp set, then die cut them out using the Fall Jar dies and colored them using copic markers. Once that was done, I adhered my images, popping up the sunflower, acorn and butterfly with foam tape, to a white rectangle which I had blended on some wild honey along the bottom. I matted my white card stock panel with a piece of chocolate chip card stock and I also used the stitched frame from the Fancy Cake dies to die cut some chocolate chip card stock for around the outer edge. For my background I used a piece of brown plaid and polka dot paper.
Thanks so much for stopping by!
Don't forget, you can follow me on InstagramTwitter and Pinterest to see what I'm up to.

Sunday, September 17, 2023

Fall Mug Additions - Pretty Pink Posh

Hello there! Today I’m sharing a card that features the new Pretty Pink Posh Fall Mug Additions dies from this months new release.
To create my card, I started out by using the Winter Mug dies to die cut the mug from gray card stock and the coffee inside the mug from kraft card stock. Next I used the new Fall Mug Additions dies to die cut the sunflower from daffodil and chocolate chip card stock and the leaves from lucky limeade, the fox and mushroom from cream, red, cajun craze and black card stock and the cinnamon stick and fall leaf from real rust. I also used the Valentine Mug Additions dies to die cut the dollop of whip.

Once all of my pieces were die cut from the different colored card stock, I used distress oxide inks to add shading. For the mug I used black soot, for the fox and whip I used antique linen, for the cinnamon stick I used vintage photo. On the I used carved pumpkin in the center and lucky clover on the leaves. The fall leaf I used ripe persimmon and the mushroom I used antique linen and fired brick.

For the background I used a piece of cajun craze card stock and used the new Deco Leaves stencil. I used the new Stitched Torn Rectangle dies with cream card stock as a base for all of my die cut pieces and sentiment which I die cut from chocolate chip card stock.
Thanks so much for stopping by!
Don't forget, you can follow me on InstagramTwitter and Pinterest to see what I'm up to.


Thursday, September 14, 2023

Pretty Pink Posh September Release

Hello there, crafty friends! Today I’m excited to be joining a group of talented designers to showcase the fun new fall products from this month’s Pretty Pink Posh release! The products from this month’s Pretty Pink Posh release are full of fall and thanksgiving goodness and I just know you’re going to love it! The new Pretty Pink Posh release with be available on September 12th so be sure to mark your calendar!
For my project, I used the new Autumn Pumpkins stamp set and Autumn Pumpkins dies along with the Scallop Box Card dies to create a three dimensional fall card. This is such a pretty and versatile pumpkin set where the images could be used individually or in a grouping to create a scene.
To create my autumn greetings card, I used some kraft card stock and the Scallop Box Card dies to create the base and some cream card stock for the scallop pieces. Next I used the new Layered Fall Wreath Stencil along with some distress oxide inks (carved pumpkin, ripe persimmon, fired brick, brushed corduroy, vintage photo, ground espresso, peeled paint and seedless preserves) and stenciled the cream card stock pieces and then brushed the edges with antique linen distress oxide ink.
Once my Scallop Box Card was assembled, I stamped several of the pumpkin images as well as the sentiment from the Autumn Pumpkins stamp set, die cut them and colored them using copic markers. Starting from the back of my card, I added the largest of the pumpkin images and the smaller to the front and then adhered the sentiment with foam tape to the front panel.
There are 3 $30 gift certificate up for grabs (one winner each day of the blog hop). Winners will be picked randomly. Comments must be left by 11:59 PM PST on 0/19/2023. Winners will be announced on the Pretty Pink Posh blog


Thank you for stopping by and I hope you enjoy the blog hop!

Friday, November 4, 2022

Hello Bluebird Stamps - Do the Gobble

Hi there, crafty friends! Today I have a fall slimline card that features the new Hello Bluebird stamp set Do the Gobble. I get a kick out of these dancing critters with all of the fall/Thanksgiving images, they're all so cute!
Creating my card was pretty straightforward, I started out by stamping my images then die cutting them using the coordinating dies to the Do the Gobble set and then coloring using copic markers. Next I used the Gallery Frame #5 and die cut just the frame with three windows in orange card stock.
I used a piece of white card stock as my background and blended on some tumbled glass and brushed corduroy distress oxide ink and then stamped my sentiment. After that I glued on my die cut frame and adhered it to my card base which I had covered with a piece of orange polka dot paper and then added my images popping up the animals and the fruit basket with foam tape.

Tuesday, November 1, 2022

Hello Bluebird Stamps - Friendsgiving

Hello there! I’m popping in today to share my latest card featuring the new Hello Bluebird stamp set, Friendsgiving along with the coordinating Friendsgiving dies. These characters are so adorable and perfect for Thanksgiving and fall cards and projects!
To create my Friendsgiving card, I used the North Fork Slimline Scene die where I eliminated the front bottom pieces after I used it to die cut a piece of white card stock. So instead of a water scene, I created ground with woods in the background. Once all of my pieces where die cut, I used pine needles distress oxide ink on the pines, mowed lawn on the grassy hills and tumbled glass for sky and brushed corduroy and walnut stain on the ground. I also used a light brown copic marker on the birch trees and a green on the pines.
Once my background was finished, I used my Misti and stamped my sentiment from the set. After that I colored the images that I had stamped and die cut using copic markers, added some white gel pen highlights and adhered them to my slimline card base. I should also mention that the tree stump image is from the Bonfire Buddies stamp set from the last release.

Friday, October 21, 2022

Hello Bluebird Release Sneak Peek - Day 1

Hello, crafty friends! I’m excited and honored to be guest designing with Hello Bluebird again for their holiday release! This release is filled with adorable stamp sets and dies for fall, thanksgiving, Christmas and winter and I can’t for you to see it! The new release will be available over on the Hello Bluebird site on October 23rd at 7pm MST.
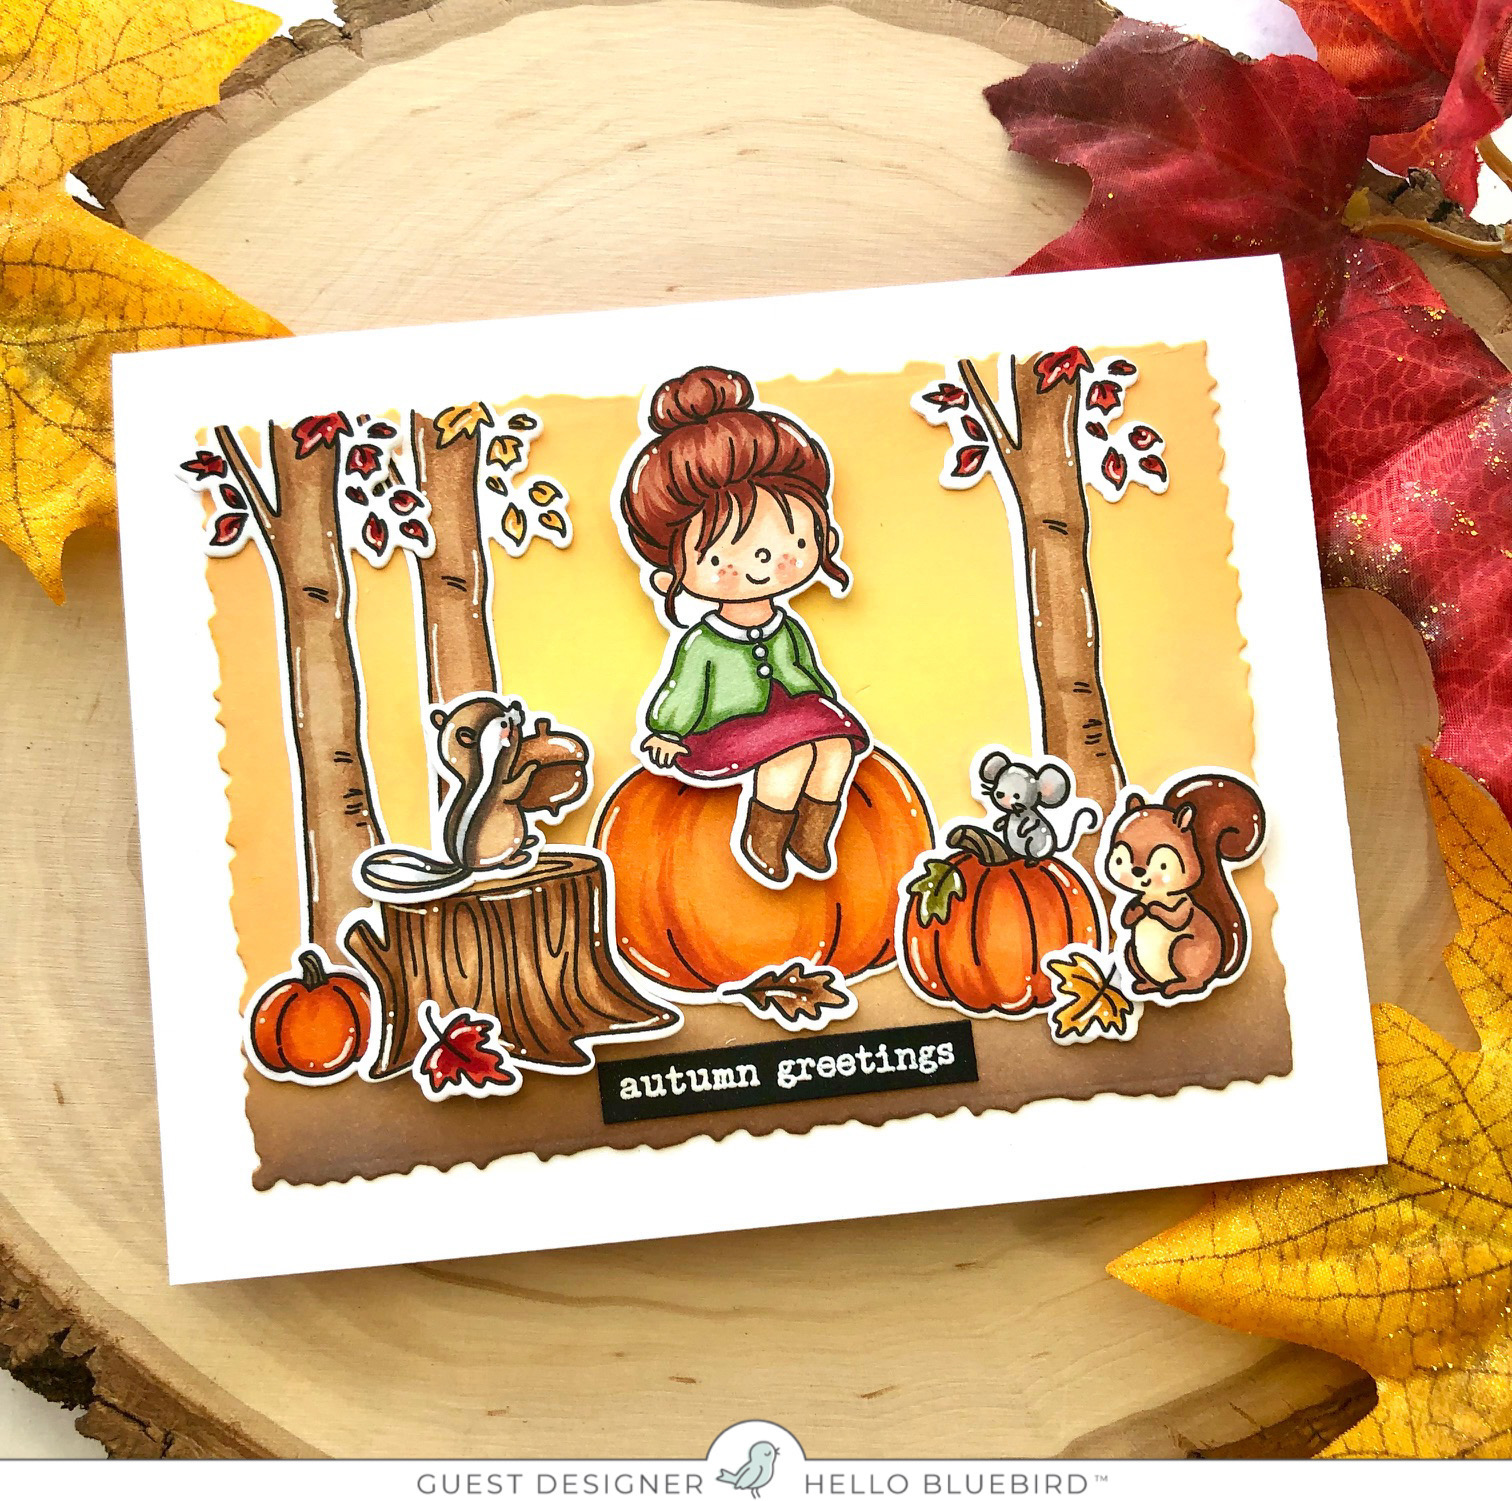
Today I’m sharing a card that features the new Autumn Days stamp set and dies. This is such a sweet fall set with not only two girl images but cute critters and elements to create a fun autumn scene.
To create my card I started out by stamping my images, then used the coordinating dies to die cut them out, then colored them using copic markers. Next I used the Nesting Deckle dies and die cut a piece of white card stock which I ink blended scattered straw, wild honey and vintage photo distress oxide ink on. Once that was done, I adhered my images and created my scene popping up the girl, chipmunk and squirrel with foam tape. I heat embossed my sentiment on black card stock using white embossing powder and added my sentiment below the images.

Wednesday, October 13, 2021

Warm Wishes - CTD664

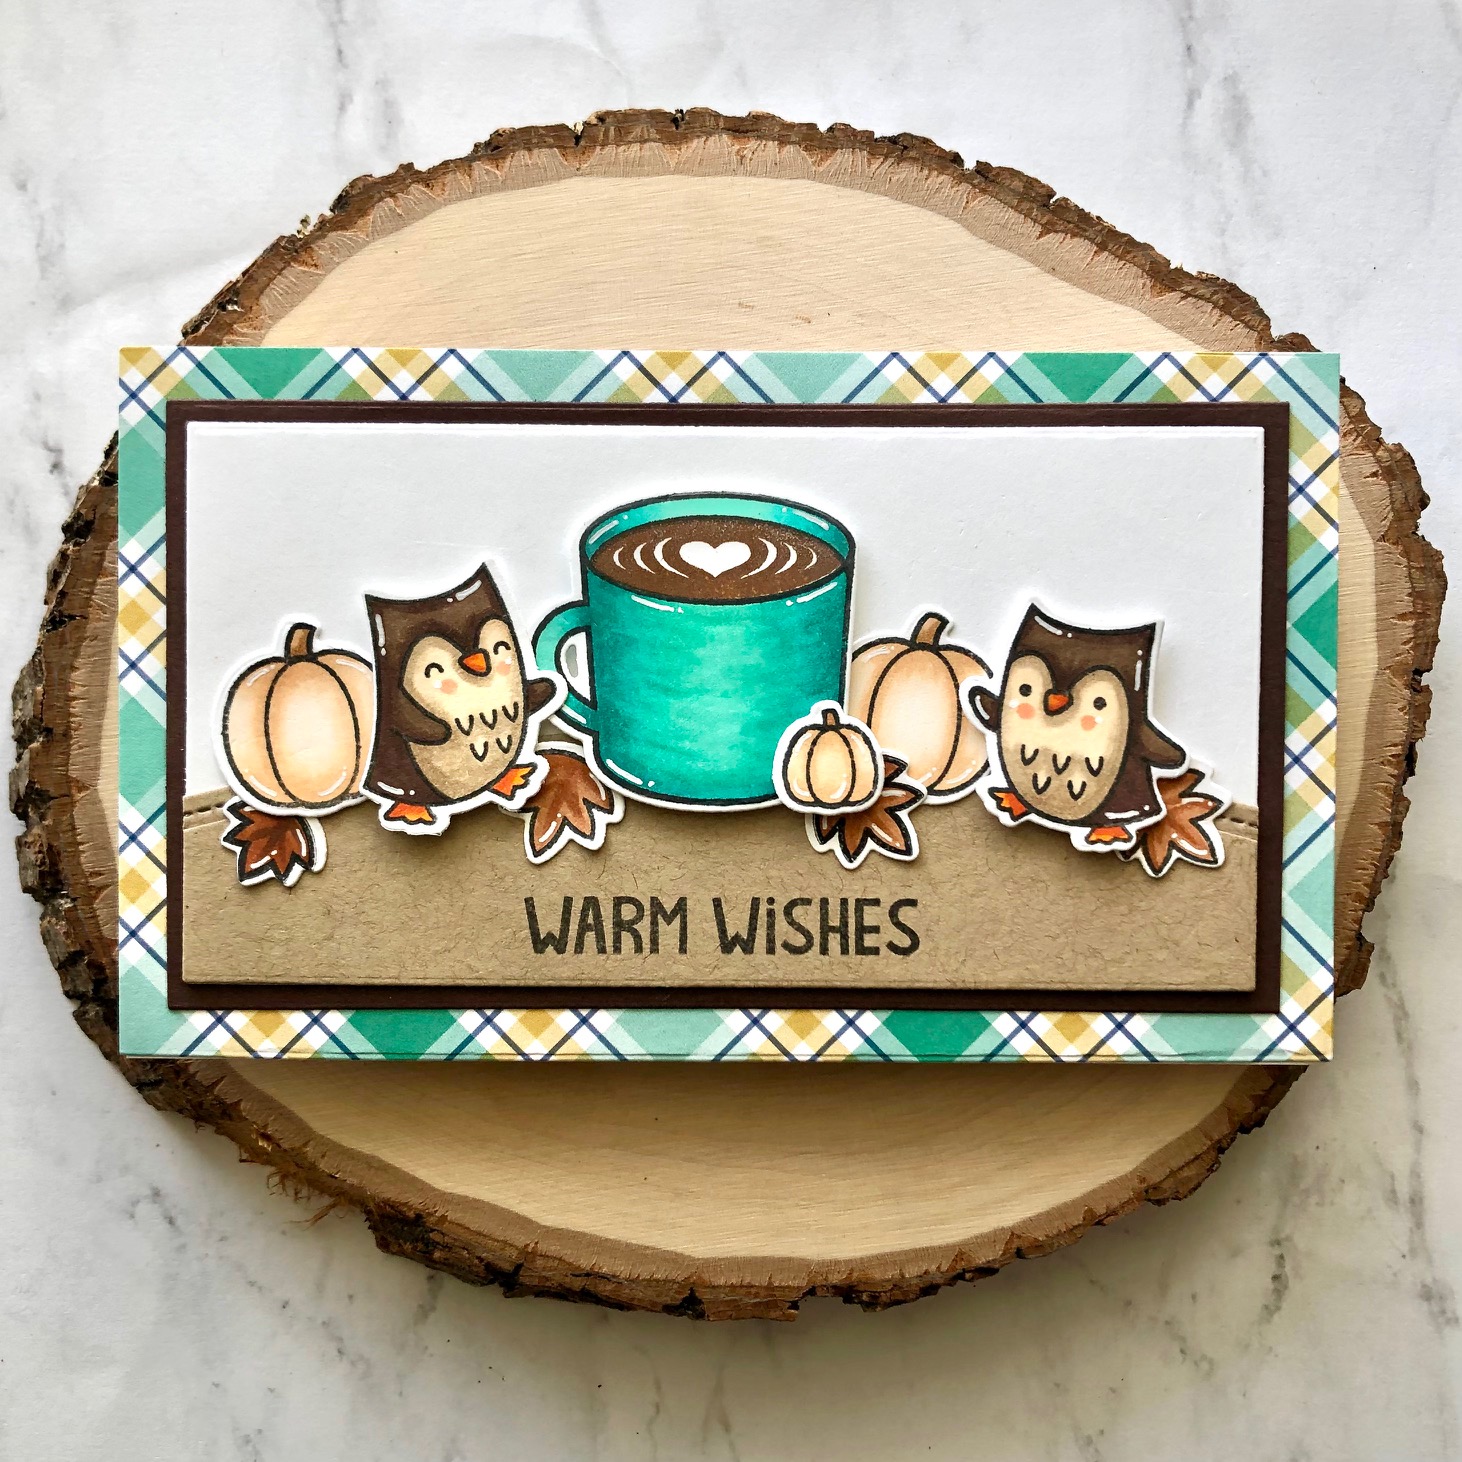
It’s Wednesday and time for this week’s Color Throwdown Challenge where we have the colors teal, kraft and brown to create with.
For my card I created a mini slimline fall themed card using the Lawn Fawn stamp sets, Thanks a Latte plus dies, Jump for Joy plus dies, Happy Harvest plus dies, the S’more the Merrier set (owl only) plus dies and the sentiment from the Argyle Backdrops set. I used copic markers to color all of my images and 
For more inspiration, check out the design teams blog links below or you can go to the Color Throwdown blog for details on how to play along and see all of the sample entries in one location.

Amy Rohl
Amy Rysavy
Thanks so much for stopping by!
Don't forget, you can follow me on InstagramTwitter and Pinterest to see what I'm up to.

Thursday, September 30, 2021

Fall Birthday Card - Inspired By Challenge

Hello there, crafty friends! Today I’m excited to be a guest designer with the talented design team over at the Inspired By Challenge!
For the Inspired By challenge you can choose to use the inspiration photo or the sketch, I chose to use both for my fall time birthday card. To created my card, I used the fun Lawn Fawn stamp set, Thanks a Bushel along with the Thanks a Bushel dies. I also used the Happy Harvest stamp set and dies for the cornstalks and sunflowers and the Pick of the Patch set and dies for the cute squirrels. 
I started by stamping out all of my images, die cutting them and then coloring them with copic markers. Next I used the Stitched Scalloped Circle Frames die and die cut it from the white card stock. I used some tumbled glass distress oxide ink and blended it on the inside circle for my sky and used a piece of ripe avocado card stock for the grass. For my background, I used a piece of brown polka dot paper from my scraps and die cut it using the Outside in Stitched Rectangle dies. I added my colored images, popping up the two squirrels and two apples and added my sentiment which I used the Wavy Sayings set and Simple Wavy Banners dies.
Thanks for stopping by and I hope you’ll take the time to play along with the Inspired By Challenge this week!

Wednesday, September 30, 2020

Jump for Joy - CTD613

Hello, hello! It’s Wednesday and time for this week’s Color Throwdown Challenge where we have some wonderful colors that are perfect for creating fall cards. I’m also entering my card into the current Lawn Fawnatics Awesome Autumn Challenge.
Even though I’ve used the Jump for Joy Lawn Fawn stamp set since its first release, this is the first time using it to create a slimline fall card. The slimline shaped card opens up a whole new canvas to work with and I’m enjoying it.
So I used the Jump for Joy stamp set and Jump for Joy dies and I stamped and die cut my images and then colored them using Copic markers. I also used two pumpkin images from the Happy Harvest stamp set and dies
I used the Small Slimline with Lift the Flaps dies to die cut a piece of white card stock then using the Cloudy Stencil, I blended on some wild honey, carved pumpkin, vintage photo and wilted violet distress oxide ink. Next I used my Misti tool and stamped my sentiment. I also used the Leafy Tree Backdrop: Landscape die and die cut a piece of Knock on Wood paper then cut down and adhered the tree to the right side of my background. After that I added my images, popping up the three critters with foam tape.
For more inspiration, check out the design teams blog links below or you can go to the Color Throwdown blog for details on how to play along and see all of the sample entries in one location.

Amy Rohl
Amy Rysavy
Thanks so much for stopping by!
Don't forget, you can follow me on InstagramTwitter and Pinterest to see what I'm up to.