Pages

Wednesday, February 28, 2018

My Heart is with You - CTD482

Hello and thank you for stopping by! It’s Wednesday and time for a brand new Color Throwdown Challenge!  For challenge #482, our colors are pink, kraft and gray.
 For my card, I used the Papertrey Ink stamp set Flower Power along with the coordinating dies to create a clean and simple card. I started out with a white card base, then used the Quatrefoil Stencil and stenciled on some gray ink just in the center portion of my card. Next I die cut a white stitched oval from the Make-it-Market:Shakers & Sprinkles kit and glued that to the center of my card base. Then I used my Misti tool and stamped sentiment which was from the Penned Elegance set. After that, I die cut several of the flowers, stems and leaves from the Flower Power set and stamped them. I stamped the flowers in pretty in pink ink and rolled the top of the petals in regal rose, then stamped the centers in chocolate chip. The stems I stamped in cocoa and the leaves in kraft and then glued all of my pieces around the oval on my card base, popping up three of the flowers with foam tape. To finish off my card, I added three silver sequins.
For more inspiration, check out the design teams' blog links below OR you can go to the Color Throwdown blog for details on how to play along and you can see all the sample entries in one location.

Amy Rohl
Amy Rysavy
Wanda Cullen
Claire - February Guest Designer


Thanks so much for stopping by!
Don't forget, you can follow me on InstagramTwitter and Pinterest to see what I'm up to.

Wednesday, February 21, 2018

Hello, Lovely - CTD481

Good morning!  It’s Wednesday and time for a new Color Throwdown Challenge!  We have the colors dark purple, light purple, off white and brown to create with this week.
For my card, I used the Papertrey Ink stamp set, Gran’s Garden and stamped the flowers in winter wisteria and royal velvet and the stems in kraft. I die cut and stamped in brown ink, two of the wreaths from the Twig Wreath stamp set.  After arranging my flowers and stems on the wreath, it still felt like something was missing and so I stamped and die cut a little bird from the Spring Woods set.  I stamped the bird in kraft, black and gray ink and tucked him in with the flowers. I used a white card base, then added a panel of off white paper that had some flecks of purples in it, then I added some polka dot and plaid royal velvet patterned paper. I stamped the Hello, Lovely from the Happy for You stamp set in brown ink along the bottom and added a die cut stitched rectangle of kraft cardstock which I popped up with foam tape. I glued on the twig wreaths, adhered my flowers and stems and added the bird with foam tape.  To finish off my card I added some purple glitter Stickles to the centers of each flower.
For more inspiration, check out the design team's blog links below OR you can go to the Color Throwdown blog for details on how to play along and you can see all the sample entries in one location.

Amy Rohl
Amy Rysavy
Wanda Cullen
Claire - February Guest Designer


Thanks so much for stopping by!
Don't forget, you can follow me on InstagramTwitter and Pinterest to see what I'm up to.

Wednesday, February 14, 2018

Bloom & Grow - CTD480

Happy Valentine’s Day!  I delayed my post for this mornings Color Throwdown Challenge because this is actually the card I’m giving to my mom (along with some flowers) when I take her to lunch today.  We have some lovely new colors for this week’s Color Throwdown Challenge and we hope you’ll play along.
 I have been wanting the Papertrey Ink Make-It Market Kit: Bloom & Grow since it came out and just last week I saw that a blogging friend was selling her’s so I snatched it up. 
To make my card, I started out with a white card base, added a stitched die cut panel of orchid opulence cardstock and a vertical strip of pale gray gingham Doodlebug paper.  Next I used the Mix & Mat: Scallops Die and die cut a piece of white cardstock and adhered that to my card with foam tape. After that it was time to have some fun using the kit!  I die cut the pot from smokey shadow cardstock and then die cut the main flower portion, three of the individual flowers and two of the detail pieces to go around the pot.  I used the stencils that came with the kit to stencil in some ink (limeade ice, new leaf, smoky shadow and orchid opulence) and then stamped in some details using the coordinating stamps.  For the three main flowers, I stamped them in orchid opulence ink, stamping off for the whole flower and full strength for the top detail, then adhered them with foam tape. I wanted to take pictures of the top flower portion pulled out and the inside because that’s where I stamped my sentiments but I forgot. 
For more inspiration, check out the design teams' blog links below OR you can go to the Color Throwdown blog for details on how to play along and you can see all the sample entries in one location.

Amy Rohl
Amy Rysavy
Wanda Cullen
Claire - February Guest Designer


Thanks so much for stopping by!
Don't forget, you can follow me on InstagramTwitter and Pinterest to see what I'm up to.

Tuesday, February 13, 2018

Jawsome Valentines

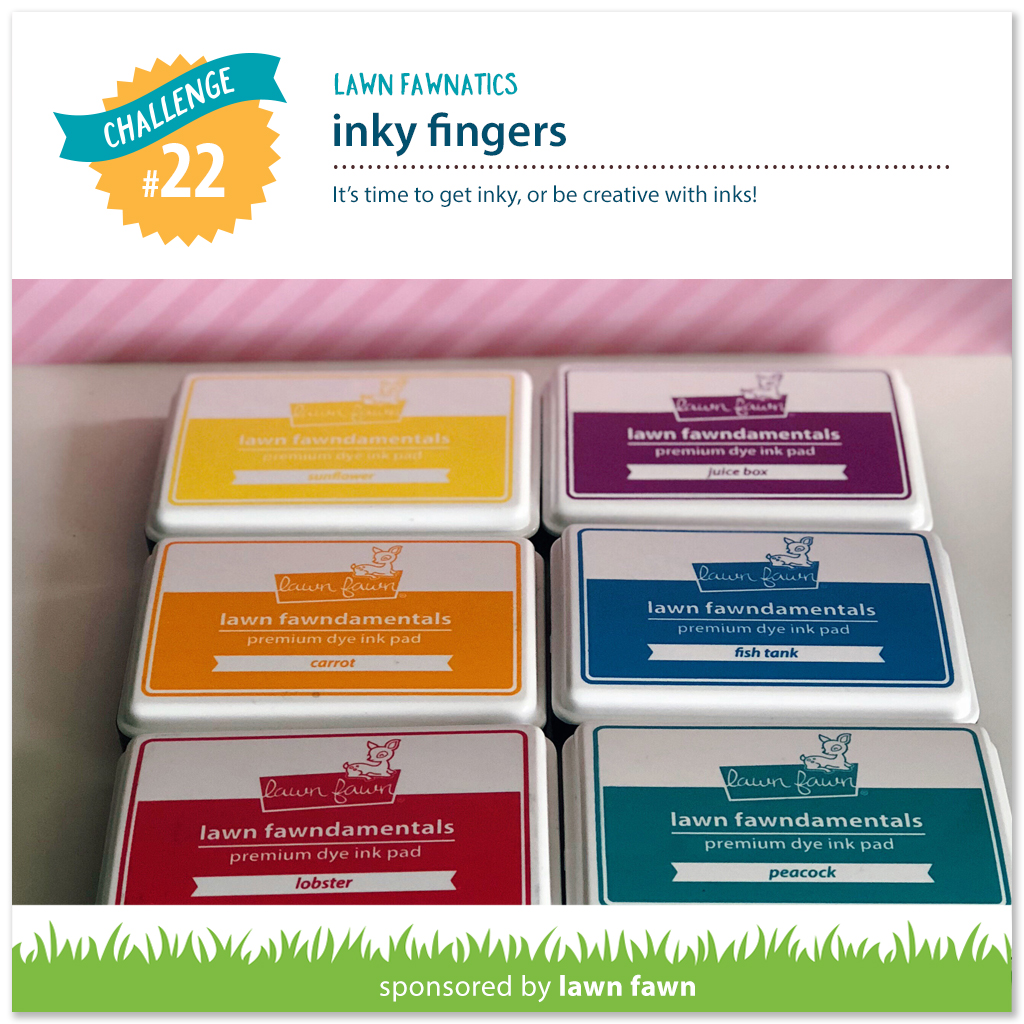
Hi friends!  I’ve had some more Valentine’s to share that I’ve made but haven’t had time to edit and post and now tomorrow is Valentine’s Day already. So today I’m sharing some boy themed Valentines that I created using the Lawn Fawn stamp set Duh-nuh.  I’m also entering these Valentines into the Lawn Fawnatics Challenge which is all about getting creative with ink.
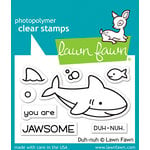
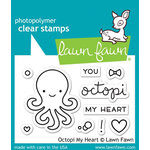
 I wanted two of the same card to give as Valentines tomorrow and I started out by stamping all of my images from the Duh-nuh set, along with the heart from the Octopi my Heart set, and then I colored them using Copic markers.  Next I die cut my stamped images using the coordinating Duh-nuh dies and set them aside.  After that, I used a white card base, added a polka dot panel of hawaiian shores and a strip of orange zest polka dot paper.  Then on to a Outside In Stitched Rectangle, I used some hawaiian shores ink and tropical teal ink to create a watercolored background for my stamped images. Once that was dry, I used my Misti tool to stamp my sentiments. For the Valentine sentiment, I used the Happy, Happy, Happy Add On set and masked out the apostrophe and the S. After that I added my images, popping up the shark and gold fish and added that panel to my card base using foam tape.

Lawn Fawn - Clear Acrylic Stamps - Duh-nuh


Lawn Fawn - Clear Acrylic Stamps - Octopi My Heart

Lawn Fawn - Lawn Cuts - Dies - Outside In Stitched Rectangle Stackables

Lawn Fawn - Clear Acrylic Stamps - Happy Happy Happy Add-On

Friday, February 9, 2018

Happy Valentine’s Day

Hello there!  Today I’m sharing another Lawn Fawn Valentine I created that’s very similar to the one I posted this last Wednesday (which you can see here) except I used a few different stamp sets.  I used the same colors for the current Color Throwdown Challenge which are red, pink and gray.
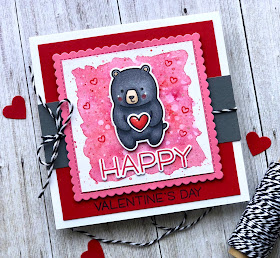
For my card today, I used the Lawn Fawn stamp set Party Animal along with the Party Animal dies. This was a fairly quick and easy card to put together. I started with a white square card base, then added a panel of pure poppy cardstock that I had stamp part of my sentiment on along the bottom, then I added a strip of smoky shadow cardstock through the center then tied on some black & white bakers twine.  Next I used the Stitched Mini Scallop Square Stax and die cut a piece of hibiscus burst cardstock.  After that, I cut a square of watercolor paper and watercolored it with red and pink watercolor.  While that was drying, I stamped my bear and heart images and colored them with Copic markers.  I also stamped the Happy from the Happy, Happy, Happy stamp set and die cut it using the Happy, Happy, Happy dies.  Once my watercolored square was dry, I stamped some little red hearts throughout the watercolored area and I adhered it to my scalloped piece and attached it to my card with foam tape. I added my bear with using foam tape and glued on the die cut Happy.  For some added detail, I used a white gel pen on the bear and added some silver glitter pen dots to the background.
 The watercolored backgrounds for both this card and my last were both easy and fun to create, much less work than creating a scene, but still give some color and texture for the stamped images.
Stay tuned, I still have a few more Valentine’s to share within the next few days.


Lawn Fawn PARTY ANIMAL Clear Stamps LF893

Lawn Fawn PARTY ANIMAL Lawn Cuts Dies LF894

My Favorite Things STITCHED MINI SCALLOP SQUARE STAX Die-Namics MFT806

Lawn Fawn HAPPY HAPPY HAPPY Clear Stamps LF1334

Lawn Fawn HAPPY HAPPY HAPPY ADD-ON Clear Stamps LF1478

Lawn Fawn HAPPY HAPPY HAPPY Lawn Cuts LF1335

Wednesday, February 7, 2018

You Octopi My Heart - CTD479

It’s time for this week’s Color Throwdown Challenge.  We have the perfect colors to create all of those Valentines you’ll need for next week.  Before I get to my card, I’d like to welcome this month’s CTD guest designer, Claire. 
For my card, I used the Lawn Fawn stamp set Octopi My Heart along with the coordinating Octopi My Heart dies.  I started out with a white card base, then added a panel of hibiscus burst and a strip of smoky shadow cardstock then tied on a piece of red bakers twine.  Next I cut a square piece of watercolor paper and watercolored using some  red ladybug watercolor (it looks purple in the picture, don’t know why).  After my watercoloring was dry I used my Misti tool to stamp my sentiment and bubbles. Then I stamped the heart and octopus images and colored them with Copic markers and adhered them onto my watercolored square, popping up the octopus with foam tape. I adhered my watercolored square onto a red die cut Stitched Mini Scallop Square and added it to my card with foam tape. For some detail, I added some Glossy Accents to the bubbles, some white gel pen and added some dots of silver glitter pen throughout the watercolored background.
For more inspiration, check out the design teams' blog links below OR you can go to the Color Throwdown blog for details on how to play along and you can see all the sample entries in one location.

Amy Rohl
Amy Rysavy
Wanda Cullen
Claire - February Guest Designer